Optics from my Meade 7 inch Maksutov
Recently I began to notice some disturbing loud clunking noises when I moved my Meade 7 inch from one position to another. I was already aware that this scope contained a substantial counterweight inside the tube. The counterweight allows the telescope to balance in fork arms designed for a shorter 8 inch Schmidt Cassegrain telescope. The counterweight was loose inside the tube, bouncing up against the delicate primary mirror! Sooner or later a disaster was inevitable. It had to go. Even if the weight had still been well attached, it would be desirable to remove it. The counterweight causes slowed cooling resulting in problems with the image under less than ideal circumstances. Some ATMs have already removed the weight for that reason alone. See the excellent information from Steve Hollenbach at http://www.astromart.com/articles/article.asp?article_id=685 . His advice and instructions are invaluable!
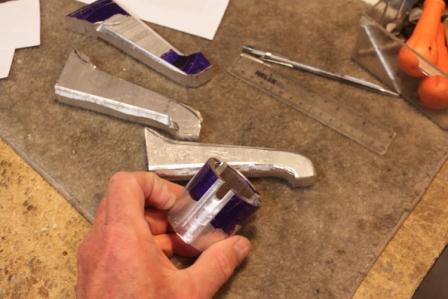
It was time for major surgery on that telescope. This is not something I recommend for all owners of the Mead 7 Mak. I undertook this with some trepidation and I am a highly experienced Amateur Telescope Maker. You might need to cut your tube or pry the counterweight out of the back of the tube using some sort of crowbar. You could easily drop the mirror inside the tube while in the process of disconnecting the focusing mechanism, damage the mirror while handling it inside the tube, drop the meniscus corrector plate, break the baffling tube, get dirt or metal particles into the grease on the mounting tube or any number of other possible disasters. Consider the risks before you do this yourself!
I could easily have ruined the scope. But, instead, I got lucky. Here is the result:
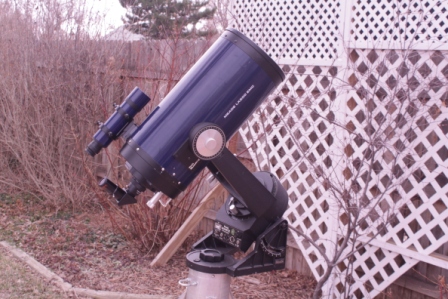
Mead 7 inch Mak with new balance point
Please see my Youtube video at http://youtu.be/nLqaeY7h7k8 for all the details.
The Result
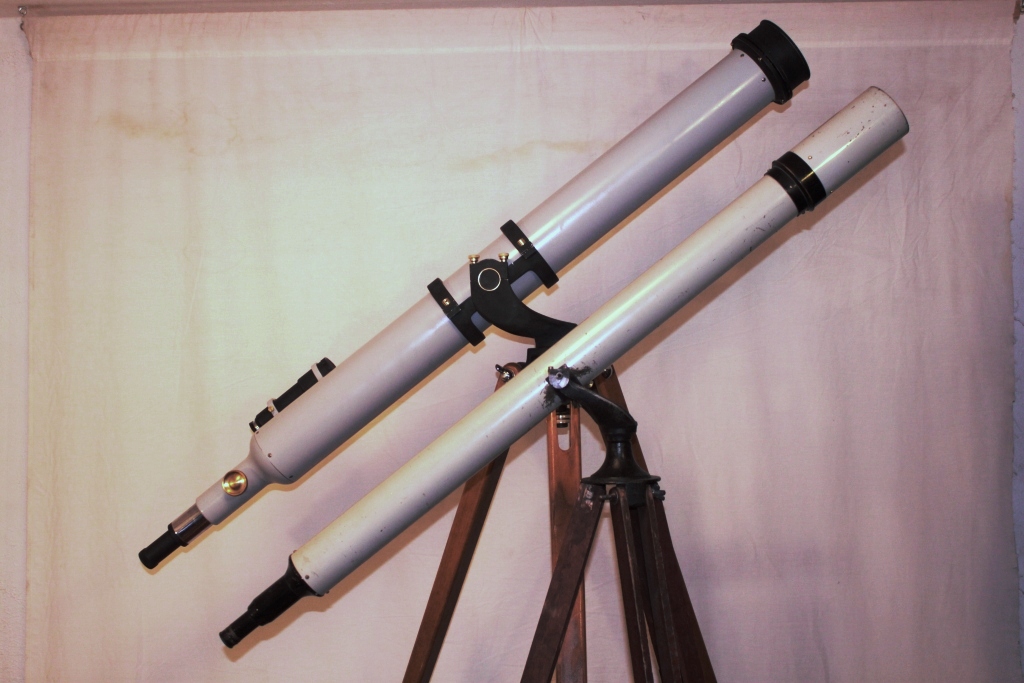
I had a three scope shootout on 3-5-14. Jupiter was near the zenith and the seeing was very good for Colorado. Here is a picture:

Scope Shootout 3-5-14
The “new” Mak is at the far left, then a 6 inch f/15 folded Jaegers achromat, then a Meade 5 inch ED APO at the far right. I was glad to see that the new, lighter mount for the Mak was sufficient for visual observations up to over 200x. The Mak cooled very nicely and what was nifty was that it stayed cool. I have noticed in the past that the scope would look great momentarily but it never really settled down. It was very tempramental and it would shine briefly only to dissapoint a moment later. I hypothesize that this was due to the large thermal inertia of the massive counterweight. Anyway, that behaviour was gone tonight. Hurray! The thermal effects in the Mak have vanished. It still has a relatively large central obstruction, though so putting it up against a couple of smaller refractors is a fair competition.
The optics in these scopes are all nearly perfect. The ED APO is superb. The 6 inch is great but there are a lot of optical surfaces in that scope so it is a little softer. The Mak shows a textbook diffraction pattern inside and outside focus.
So which one is best?
The Mak has a perfect image during the brief moments of perfect air, a few times every several seconds. But, even with the dramatic improvement, it is a bit more susceptible to seeing than the other scopes. The smaller APO is more steady, and the image is nearly as good as its big brother. The six inch is a great big horse compared to these two. The image is lovely but it does not justify the extra effort to set it up. So the little APO wins for nights of poor or mediocre seeing. The Mak wins for nights of good or great seeing. Both of these scopes are simple and easy to use, especially now that the Mak has lost all that weight.
I am very happy with the outcome!
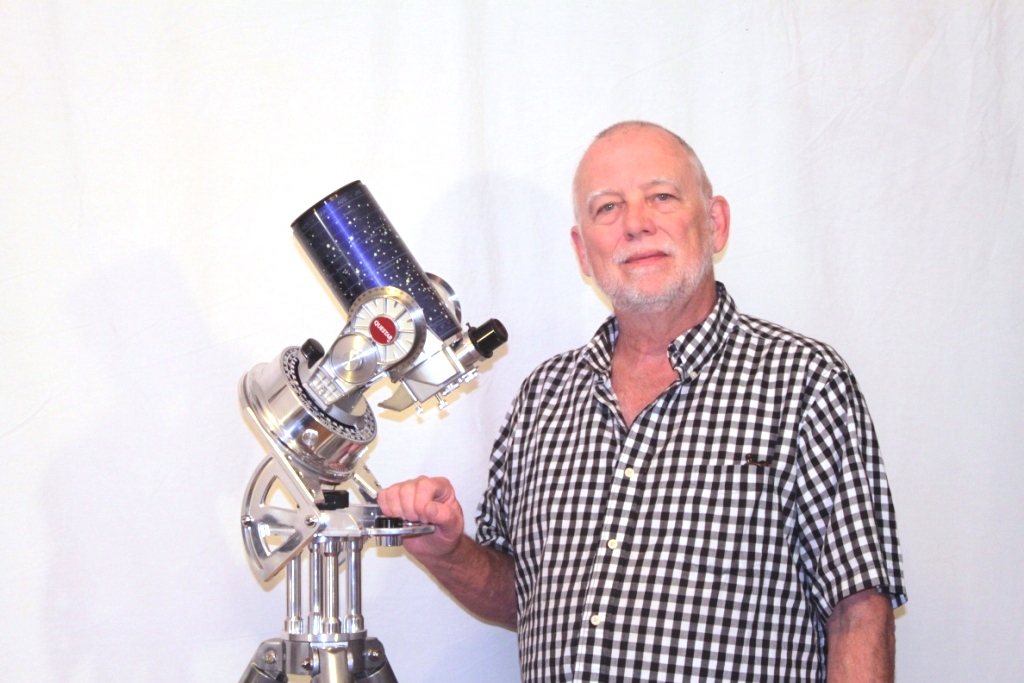 At last, after many years of wanting a Questar, I finally own one. Now I know what all the hyperbole was about and am guilty of going over the top myself when describing mine. It is simply the best telescope I own on several levels. Don’t get me wrong; a bigger aperture scope will out perform my little Questar. But, as any Questar owner will tell you, it is impossible to get more performance in any other similar sized scope. Pound for pound, it is the most bang for the buck. And it is astounding to hold a small piece of sheer perfection in your hand.